he main purpose of the Perspective Warp tool is to let you change the angle or viewpoint of an object in your photo. This is useful for correcting distortions, like when a building looks like it’s leaning, or for making an object fit realistically into a new background.
Here is a simple, step-by-step guide:
1. Find and Activate the Tool
First, make sure the layer you want to change is a Smart Object. To do this, right-click on the layer and choose “Convert to Smart Object.” This lets you re-edit your changes later.
Then, go to the top menu and select Edit > Perspective Warp.
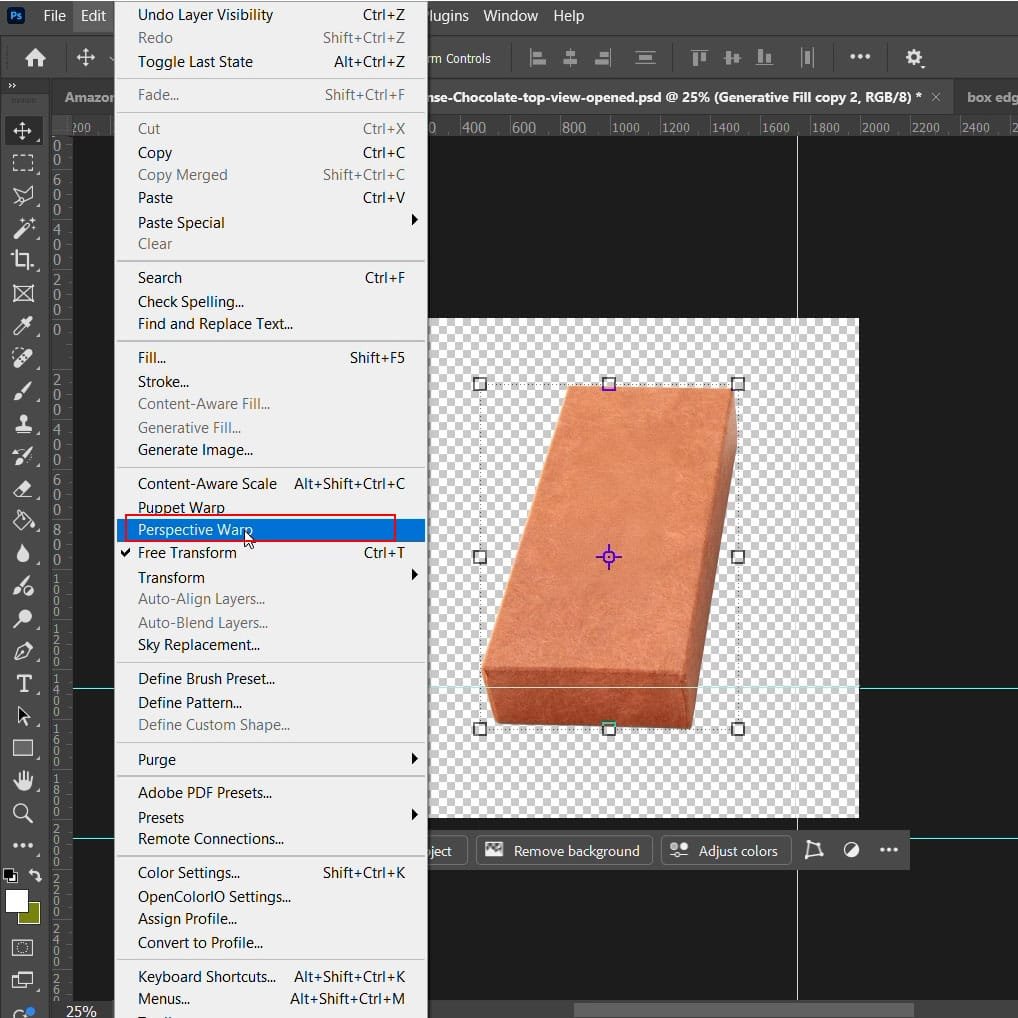
2. Troubleshooting: What to Do If It’s Grayed Out
Sometimes, the “Perspective Warp” option is grayed out and you can’t click it. This usually means Photoshop isn’t using your computer’s graphics card (GPU) for help.
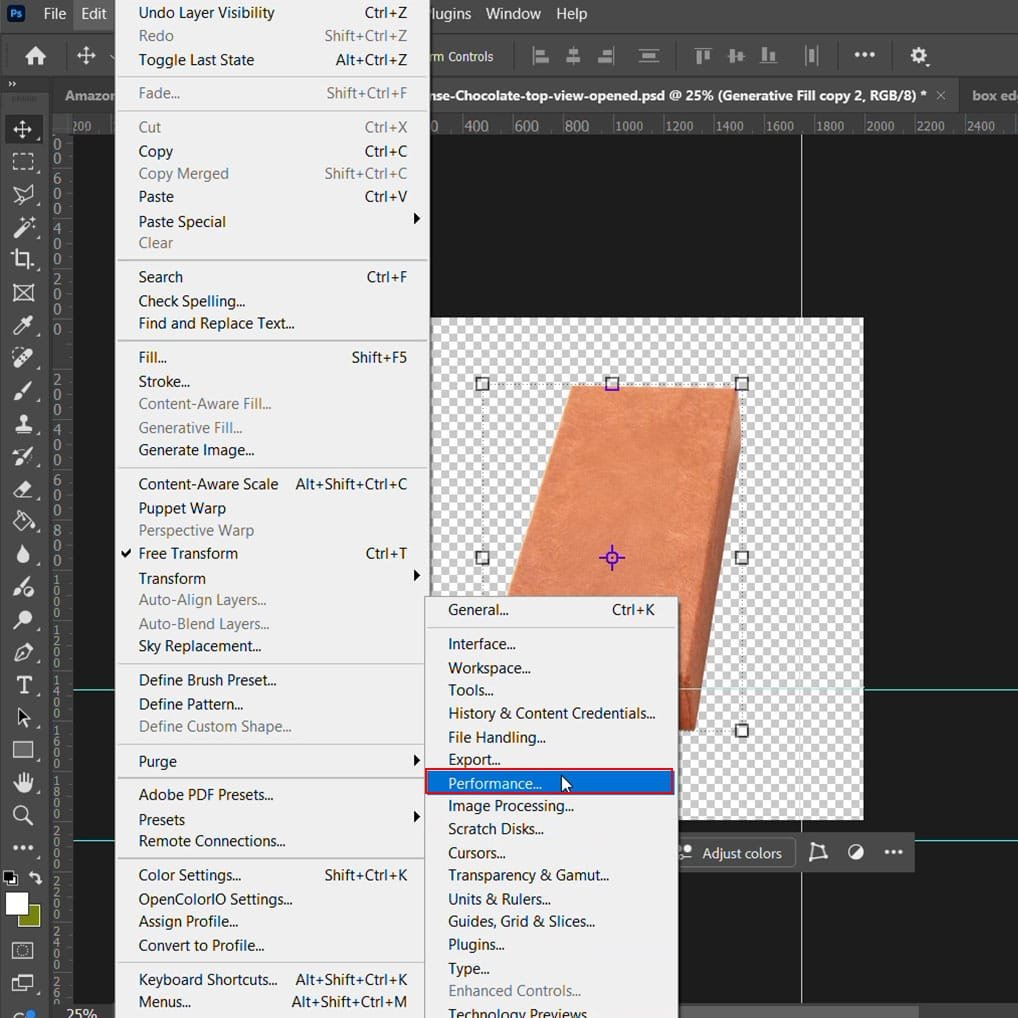
To fix this:
- Go to Edit > Preferences > Performance….
- In the “Graphics Processor Settings” box, make sure “Use Graphics Processor” is checked.
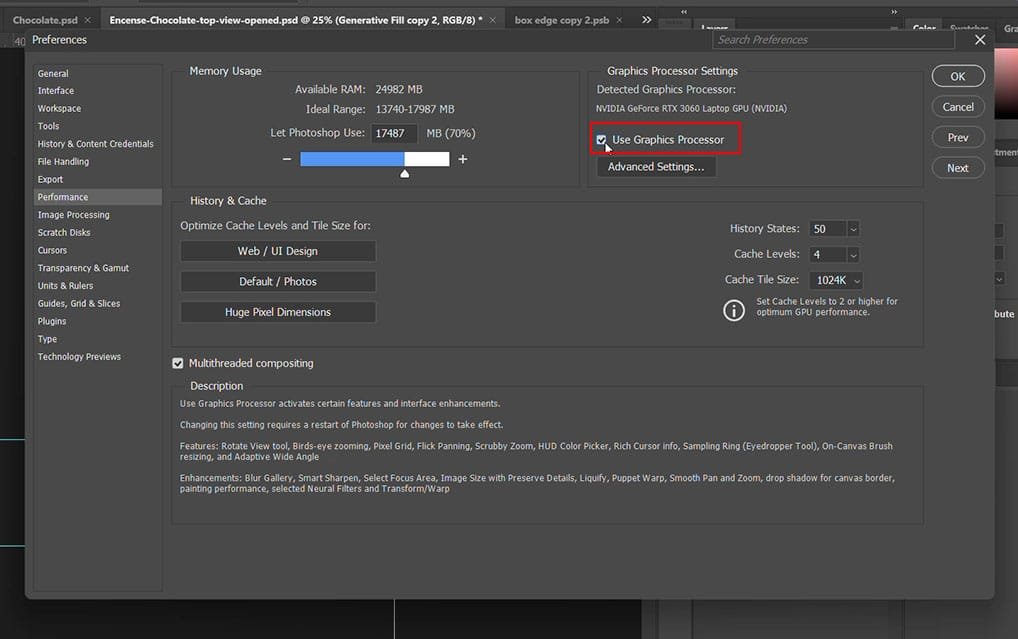
- You may also need to click the “Advanced Settings…” button and check “Use Graphics Processor to Accelerate Computation”.
- You will need to restart Photoshop for the changes to take effect.
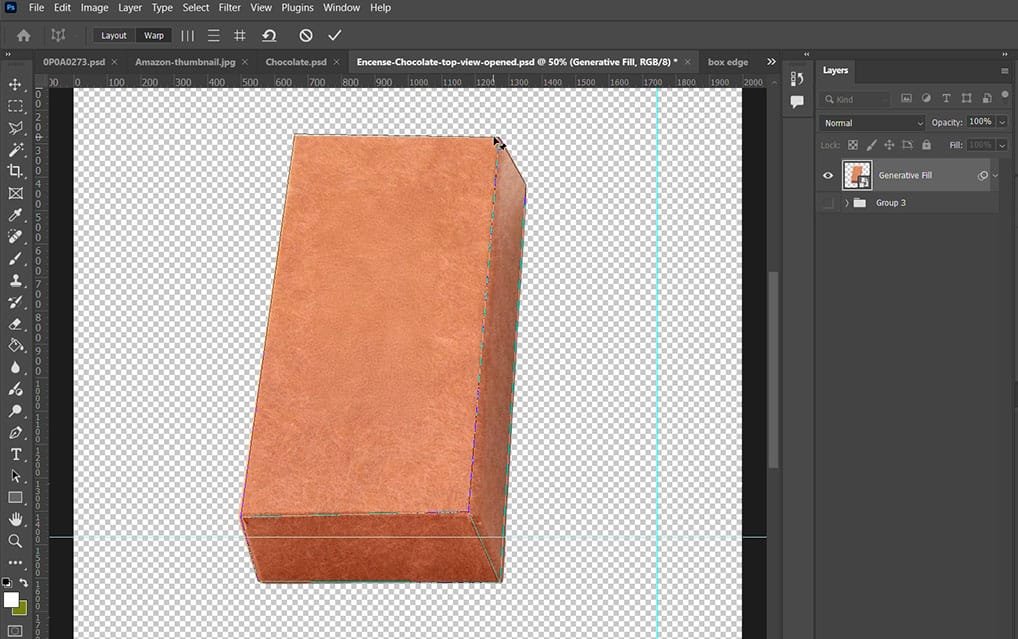
3. Step One: Define the Planes in “Layout” Mode
When you first use the tool, you are in Layout mode. The goal here is to draw grids (called “quads”) that match the current perspective of your object.
- Click and drag on a flat surface of your object to draw your first grid.
- Drag the four corner pins until the grid lines are parallel with the edges of your object.
- If your object has multiple visible sides (like a box), draw another grid on the next side. Drag it close to the first one until the edges snap together and highlight in blue.

4. Step Two: Change the Perspective in “Warp” Mode
Once your grids are set up, you can start changing the perspective.
- Switch to Warp mode by clicking the “Warp” button in the top options bar or by pressing the W key on your keyboard.
- Now, simply click and drag the corner pins to manipulate the object’s perspective until it looks right to you.
- Helpful Tip: To make an edge perfectly vertical or horizontal, hold down the Shift key and click on that edge. It will lock in place and turn yellow.
When you are finished, press the Enter key to apply your changes. Sources et contenu associé